Communication between Containers using Docker Networking
Using docker we have separate out the application. And we have kept it’s environment limited to the container. But every service or application needs to connect with services. For this we have docker networking.
💭 What is Docker Networking?
Docker Networking is a way of managing how containers communicate with each other and with the outside world.
By default, Docker containers can communicate with each other on the same host, but not with containers on other hosts or with external networks. Docker Networking enables us to connect containers with each other and with external networks.
Types of Docker Networking:
There are 7 types of Docker Networking:
- Bridge Networking
- User Defined Bridge Networking
- Host Networking
- Overlay Networking
- Macvlan Networking
- IPvlan Networking
- None Networking
Bridge Networking
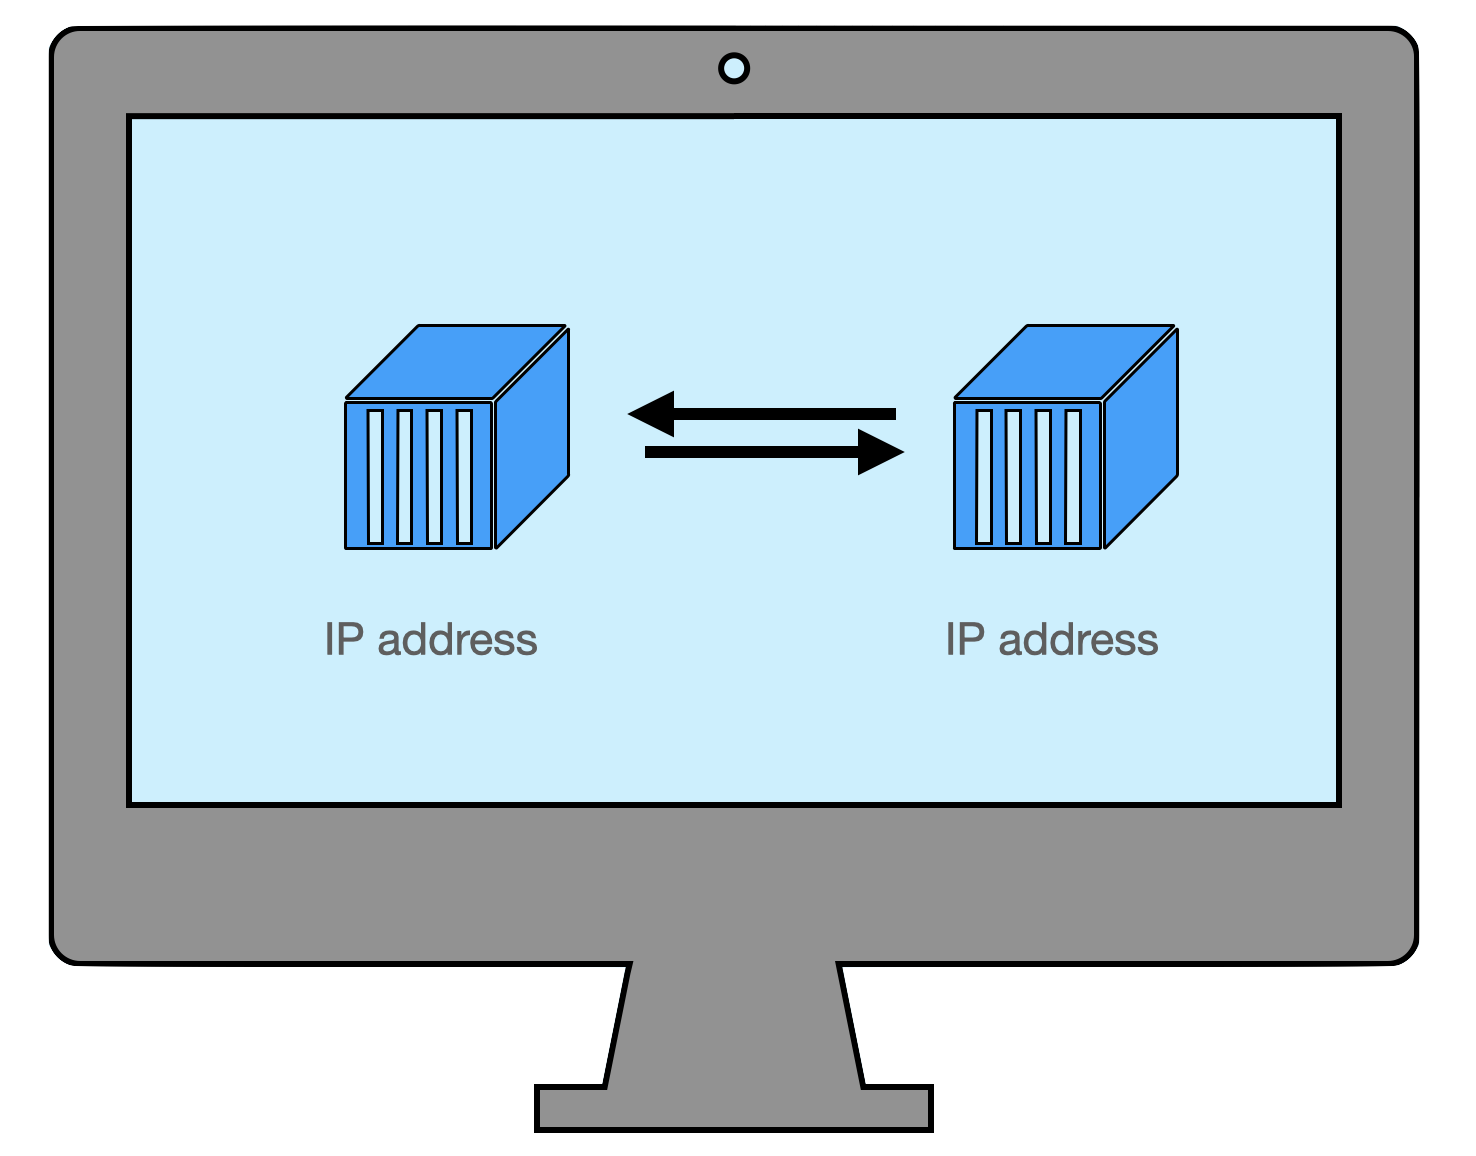
In Docker, a bridge network is the default network driver that enables communication between containers on the same host. When a container is started with the default bridge network, it gets a unique IP address, and it can communicate with other containers on the same network using that IP address. In this video, we will dive into bridge networking in Docker.
Check the list of existing networks
$ docker network ls
Create some random containers to test the network.
    $ docker run -d --name container1 nginx
    $ docker run -d --name container2 nginx
Inspect the default bridge network to see the connected containers
$ docker network inspect default
Here you find that the default bridge network is connected to the containers that we have created. You can also try to ping one container from the terminal of another container.
User Defined bridge networking
As the name states that you can define your own bridge network. This will help you in creating a separate network for a set of containers.
To create a bridge network, we can use the docker network create command with the bridge driver. For example, let’s create a network named my_network:
$ docker network create --driver bridge my-network
Once the network is created, we can connect containers to it by specifying the network name when starting the container. For example, let’s start two containers and connect them to my_network:
    $ docker run -d --name container1 --network my-network nginx
    $ docker run -d --name container2 --network my-network nginx
Now, container1 and container2 are connected to the my-network bridge network, and they can communicate with each other using their unique IP addresses.
We can inspect the my-network bridge network to see the connected containers and their IP addresses:
$ docker network inspect my_network
This command will output a JSON object that includes information about the network, including the containers connected to it and their IP addresses.
Host Networking:
Host networking mode allows a container to use the host’s network stack and bypass Docker’s network stack. This can provide better network performance for the container, but it also means that the container shares the same network namespace as the host. Let’s see how to setup the network
To start a container in host networking mode, we can use the --network host option when running the docker run command. For example, let’s start a container in host networking mode:
$ docker run -d --name container1 --network host nginx
This command will start a container named container1 in host networking mode, using the host’s network stack.
We can inspect the network namespace of the container to see that it is using the host’s network stack. To do this, we can use the nsenter command to enter the container’s network namespace:
    # Remove "\" from the command below
    $ docker inspect -f "\{\{.State.Pid}}" container1
    $ sudo nsenter -t <container-pid> -n ip addr
This command will show us the IP address assigned to the container and confirm that it is using the host’s network stack.
Pros and Cons of Host Networking
The main advantage of host networking mode is improved network performance since the container is using the host’s network stack directly. However, this also means that the container shares the same network namespace as the host, which can be a security risk. Additionally, using host networking mode can limit the portability of the container since it relies on the specific network configuration of the host.
Overlay Networking:
Overlay networking is a network driver that enables communication between containers running on different hosts. This is useful for distributed applications that span multiple hosts or clusters. Let’s see how you can configure overlay networking.
To create an overlay network, we can use the docker network create command with the overlay driver. For example, let’s create an overlay network named my_overlay_network:
$ docker network create --driver overlay my_overlay_network
Once the network is created, we can connect containers to it by specifying the network name when starting the container. For example, let’s start two containers on different hosts and connect them to my_overlay_network:
    [Host 1]$ docker run -d --name container1 --network my_overlay_network nginx
    [Host 2]$ docker run -d --name container2 --network my_overlay_network nginx
Now, container1 on Host 1 and container2 on Host 2 are connected to the my_overlay_network overlay network, and they can communicate with each other using their unique IP addresses.
We can inspect the my_overlay_network overlay network to see the connected containers and their IP addresses:
[Host 1]$ docker network inspect my_overlay_network
This command will output a JSON object that includes information about the network, including the containers connected to it and their IP addresses.
Pros and Cons of Overlay Networking
The main advantage of overlay networking is that it enables communication between containers running on different hosts, which is useful for distributed applications. However, overlay networking can be slower than other network drivers since it involves additional network hops. Additionally, overlay networking requires more configuration and setup than other network drivers.
Macvlan Networking
Macvlan is a network driver that allows containers to have their own MAC addresses on the network. This is useful for applications that require direct access to the network hardware or need to appear as separate devices on the network. Let’s look at the example below.
To create a Macvlan network, we can use the docker network create command with the macvlan driver. For example, let’s create a Macvlan network named my_macvlan_network:
    $ docker network create -d macvlan \
      --subnet=<subnet> \
      --gateway=<gateway> \
      -o parent=<physical-interface> \
      my_macvlan_network

    # subnet is the subnet mask you want to provide for your container
    # gateway is the ip address of your router
    $ ip route show 0.0.0.0/0 dev eth0 | cut -d\  -f3

    # for parent try the command
    $ ip link show
In this command, we specify the network details such as the subnet, gateway, and parent physical interface.
Once the network is created, we can connect containers to it by specifying the network name and the macvlan driver when starting the container. For example, let’s start a container and connect it to my_macvlan_network:
$ docker run -d --name container1 --network my_macvlan_network --network-driver macvlan nginx
We can inspect the my_macvlan_network Macvlan network to see the connected containers and their MAC addresses:
$ docker network inspect my_macvlan_network
Pros and Cons of Macvlan Networking
The main advantage of Macvlan networking is that it allows containers to have their own MAC addresses on the network, which is useful for applications that require direct access to the network hardware or need to appear as separate devices on the network. However, Macvlan networking can be more complex to set up and configure than other network drivers. Additionally, using Macvlan networking can cause security concerns since it is possible for containers to spoof MAC addresses and potentially disrupt network traffic.
IPvlan Networking
IPVlan is a network driver that allows containers to have their own IP addresses on the network. This is useful for applications that require direct access to the network hardware or need to appear as separate devices on the network. Let’s see a simple example.
To create an IPVlan network, we can use the docker network create command with the ipvlan driver. For example, let’s create an IPVlan network named my_ipvlan_network:
    $ docker network create -d ipvlan \
      --subnet=<subnet> \
      --gateway=<gateway> \
      -o parent=<physical-interface> \
      my_ipvlan_network
In this command, we specify the network details such as the subnet, gateway, and parent physical interface.
Once the network is created, we can connect containers to it by specifying the network name and the ipvlan driver when starting the container. For example, let’s start a container and connect it to my_ipvlan_network:
$ docker run -d --name container1 --network my_ipvlan_network --network-driver ipvlan nginx
We can inspect the my_ipvlan_network IPVlan network to see the connected containers and their IP addresses:
$ docker network inspect my_ipvlan_network
This command will output a JSON object that includes information about the network, including the containers connected to it and their IP addresses.
Pros and Cons of IPvlan Networking
The main advantage of IPVlan networking is that it allows containers to have their own IP addresses on the network, which is useful for applications that require direct access to the network hardware or need to appear as separate devices on the network. However, IPVlan networking can be more complex to set up and configure than other network drivers. Additionally, using IPVlan networking can cause security concerns since it is possible for containers to disrupt network traffic.
None networking
The none network driver is a special network driver that disables networking for a container. This can be useful for running containers that do not require any network access, such as containers that perform background tasks or run batch jobs. Let’s look at the example below.
To create a container with the none network driver, we can use the --network none option when starting the container. For example, let’s start a container with the none network driver:
$ docker run -d --name container1 --network none nginx
We can inspect the container1 container to see that it has no network interfaces:
$ docker inspect container1
This command will output a JSON object that includes information about the container, including its network settings.
Pros and Cons of the None Network Driver
The main advantage of the none network driver is that it disables networking for a container, which can be useful for running containers that do not require any network access. However, it is important to note that the container will not be able to communicate with the outside world or other containers on the same host. This can limit the usefulness of the none network driver for certain use cases.
Conclusion
I can understand if all this overwhemling. But from a practical standpoint if you know the basics of docker then you can jump towards learning the orchestration tools like kubernetes. I might be wrong but till now I have just used user defined bridge network in my practical experience. So you don’t need to keep all this in mind and can always get back to this video or the documents.
Important links